
Every videographer knows lighting is a key element to the success of a video project. It can single handedly improve the look and feel of the shot, more than the camera used or any other piece of equipment. Mustard Seed Cinema hopes to impart some simple but vital tips to make your next video project look its best with excellent lighting.
Here’s a few ways to easily improve videos with some simple adjustments to the lighting:
Direction of light. The direction the main light source comes from is invaluable in regard to lighting the subject. Each angle provides a different look. You must decide where the main source of light will come from, in relation to the subject and the camera. Most beginners put the light right in front, very near the camera, but this rarely provides the most interesting and pleasing look. More on this later.
Remember, softness of light is a factor. The larger the source of light is in relation to the distance from the subject, the softer it’s going to be. For example, think about the sun—it provides bright lighting, coming from a point source producing hard shadows. But on a cloudy day, the light from the sun is diffused and comes from many different directions, not just from the sun, so it is softer and generally more pleasing. Some movies intentionally use harsh light to achieve a desired effect, but generally soft light is most flattering.
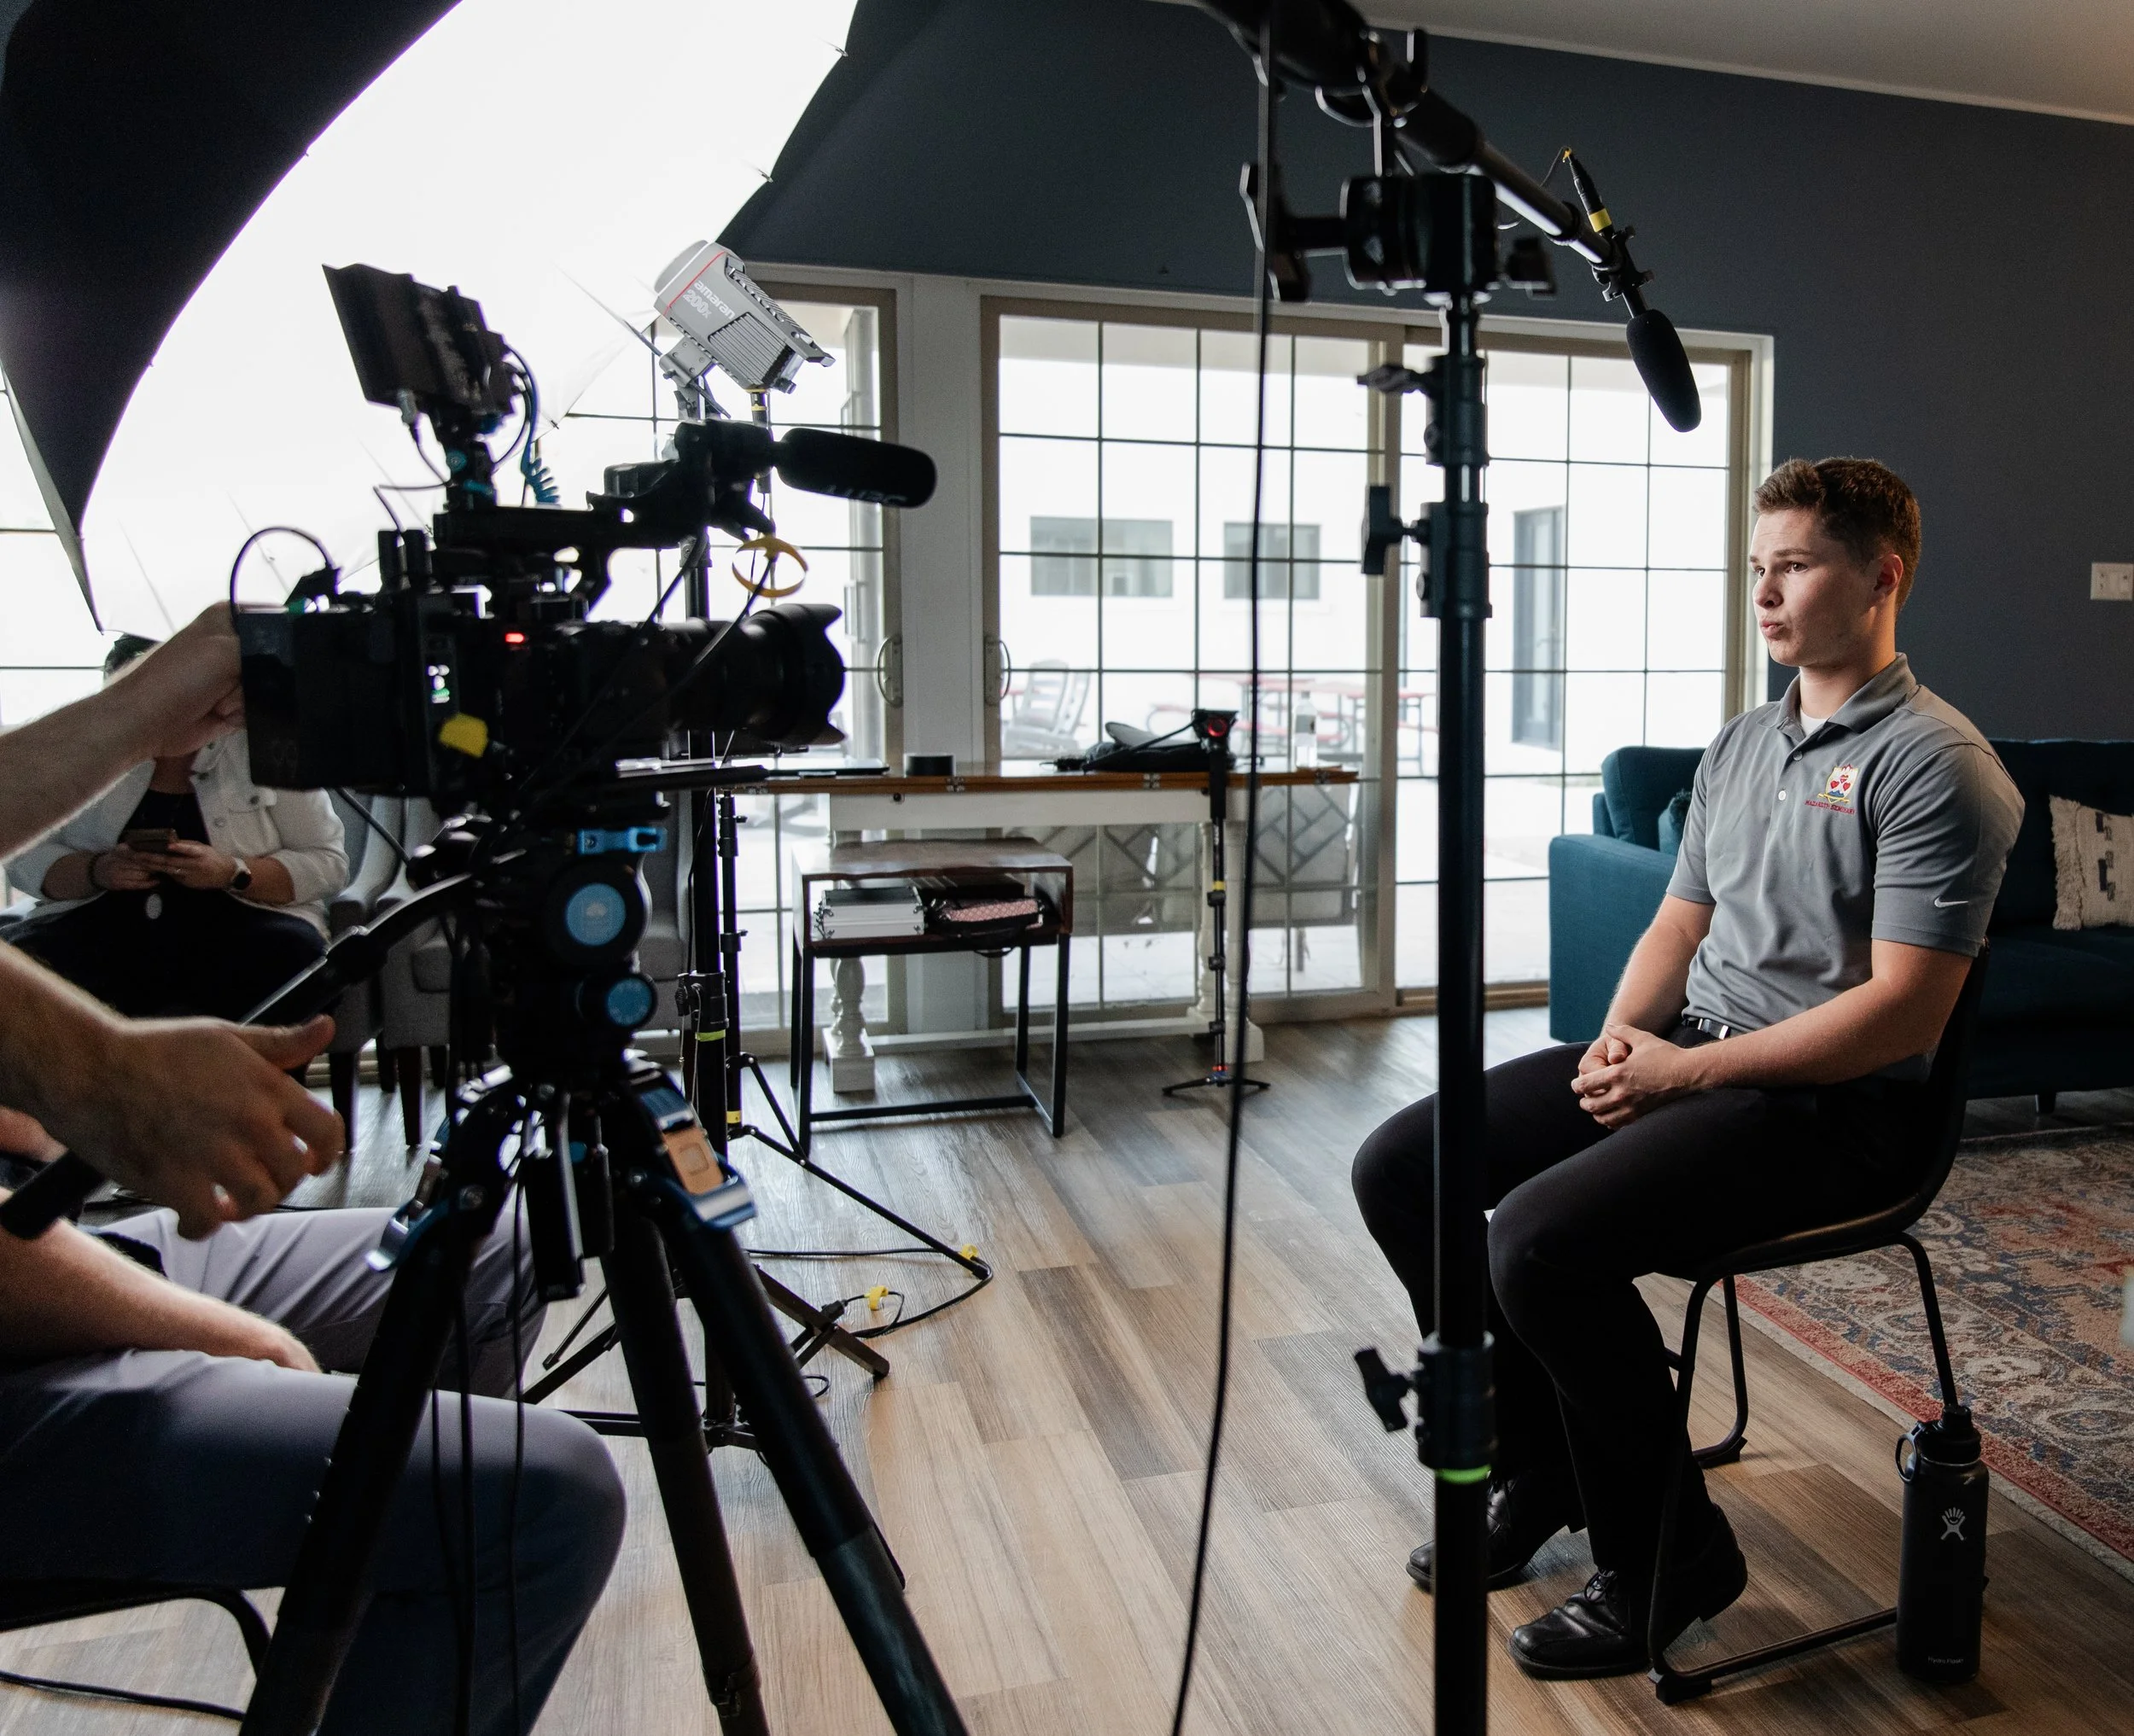
3 Point Lighting. The classic lighting setup involves three components: the key light, fill light, and back light. The key light is the brightest light/main light used to illuminate the subject. For the interview setup, the key light would be at a slight side angle from the subject (not directly in front). The fill light does just that—fills in the other side of the face of the subject. Depending on the environment, sometimes no fill light is necessary but if you see dark shadows on the person’s face then you probably want some fill to lessen the harshness of those shadows. Then there’s the back light—which is a light coming from behind, helping separate the subject from the background. Why do you need a backlight? Because dark clothing or hair on a dark background tend to all blend together, so you want to set up a backlight to create a little rim of light around the subject and help them pop.
NATURAL LIGHTING:
Sometimes, you can use natural or available light without pulling out any extra lights. The same principles apply but you still have to make careful choices about where to place the subject and the camera in relation to the light. The advantages to using natural light are that you don’t need any special gear, it’s easy and quick. Disadvantages include not having much control if the sun changes brightness mid-shoot, which will affect consistency.
When shooting indoors, employ natural light by putting the subject near the window. The window as the light source, will allow indirect light to fall on the subject, and will offer a soft quality to the light. Often, that light gets bounced around the room, providing a natural fill to the subject and eliminating dramatic shadows. By placing the subject near the window, it also helps their face be a bit brighter than other things in the room. (The viewer’s eye will naturally go to the brightest thing in the frame.)
For filming outside and only using natural lighting, the best time to film is in the morning and late afternoon/early evening. When the sun is low in the sky, it creates softer lighting and there is less of a contrast ratio between shadows and light. When filming in harsh sunlight, backlighting your subject will usually look best. This will provide a rim of bright light around them and keep the unflattering direct sunlight off their face. When doing this you will likely need to use a reflector to bounce a bit of fill light onto one side of their face so it’s not too dark.
ARTIFICIAL LIGHT: Sometimes you need it, especially inside. Usually indoor overhead lights (fluorescent, etc) are terrible for video, so your best bet may be to turn all those lights off and start over.
Sample setups with artificial lighting:
Diffusion or soft box for a key light: This is a way of taking a small source of light and turning it into a much larger source of light. You can also do the same thing by shooting a light through a frosted shower curtain. It amplifies your source of light, spreading it across the whole surface. This is most important for a key light; remember to make it as soft as possible.
Bouncing your key light: Another way to create the key light is to bounce it off any kind of white material, ie: a large white reflector, a white sheet, or even a white wall. The bounce surface then becomes the light source, which again greatly increases its size. If you want to just increase the ambient light in the room, aim your light into the ceiling, using that as a bounce.
Fill light: You can use a second light to fill in the shadow side of the face. You don’t really need a light at all though. Just bounce the key light by using the white side of a reflector and putting that on the opposite side of the persons’ face from the key light. Some of the light will hit the bounce and fill in the shadow side of their face. (This is our preferred way of taking care of fill light). The larger the bounce surface and the closer it is to the subject, the more light it will bounce back. Move it around and watch the effect it has on the person’s face. If you don’t have a reflector, you could use anything from white poster board to a white bed sheet as a makeshift bounce.
Sometimes you want to increase shadows on a person's face. If you want a moody, dark shot or the lighting is too even and their’s no dimension, use negative fill (the opposite of regular fill). Put up a reflector that is on the black side instead of white (or a black blanket or curtain, could work too). The black side of the surface should be facing the subject. Use this similar to the bounce fill above but instead of adding light on one side of the face, you are taking it away. This technique absorbs and blocks light from falling onto their face and increases the shadows. Again, the larger the surface is and the closer it is to the subject, the more dramatic of an effect you will see.
In regard to backlight, it usually doesn’t need to be soft. You can just aim some kind of spot light at the back of the subject’s head. Tube lights can also be used as a nice backlight — put it behind the person, just high enough to be out of the frame. The backlight doesn’t need to be too bright or else it will be distracting. Just enough light to separate the subject from the background is perfect. There may even be times when you don’t need a backlight at all, especially if you’re going for a more natural look, or if there is already nice separation between the subject and the background.
Last, lighting up the background. Usually you’re working to darken the background, but sometimes you might want to add bits of light to add interest. Little pockets of shadow and light in the background provide the most pleasing and interesting backdrop. You might like to create patterns of light or something else to make the background more interesting. Maybe you could try using RGB colored lights, or employ some lamps in the background to add little bright spots. Just make sure the lights aren’t too bright. You might have to get some really low watt bulbs to accomplish this.
Getting good at lighting a scene takes practice and experimenting. We suggest watching movies and commercials to see examples of how these methods are being used. Then try it out yourself—It doesn’t have to be super complicated. Any attention you can give to lighting will greatly improve the quality of your videos and will draw in viewers by making the subject of the project more interesting and compelling. Happy Lighting!